

The track gets unfolded during assembly - something Michael quickly corrected me on during my first assembly attempt! Notice how the support bars go straight across, whereas they are in an "X" configuration in the carrying bag? The track is simply joined by a series of plastic pins, however these pins are just for alignment and have a semi-loose fit. In order to get the track to hold together you use a series of Velcro straps. I only show one Velcro strap for demonstration purposes, however during normal use each track joint would require this strap.


If you need to fit through a smaller area, like a door way, the track can be moved diagonally. Note that this shortens the effective travel length, but the dolly can accommodate the track width change to a reasonable extent.

As anyone who has operated a Dolly knows, uneven floors can be a real pain. The Indie Dolly kit comes with both shims and mid-span floor supports...you know, just in case you have a fully loaded Panavision camera and don't want the track to sag. In my use, I found that I didn't really need the mid-span supports even with my beastly O'Connor head and Miller legs, as well as a fully loaded FS-700.

The dolly itself is pretty easy to assemble, so I thought it was unnecessary to give step by step instructions. Each roller leg (skateboard wheels and silver metal shaft) inserts into the Dolly base. You then attach the riser and saddle as well as mount a push arm. That's about it. No biggie, right? In my use, I didn't use the chair nor push arm so all I had was step #1.

Finally, you'll want to mount your tripod to the Indie Dolly. The dolly rents with two types of tripod leg inserts, but the most common one (shown below) is the Manfrotto spike. Even my Miller tripod has this exact same leg mounts. First, remove the boots from the tripod, then mount each leg into the dolly and strap over the rubber tie-downs. It's a solid mount and I didn't experience any sort of play between the dolly and tripod, even when operating the camera at the tripod head while moving along the track.


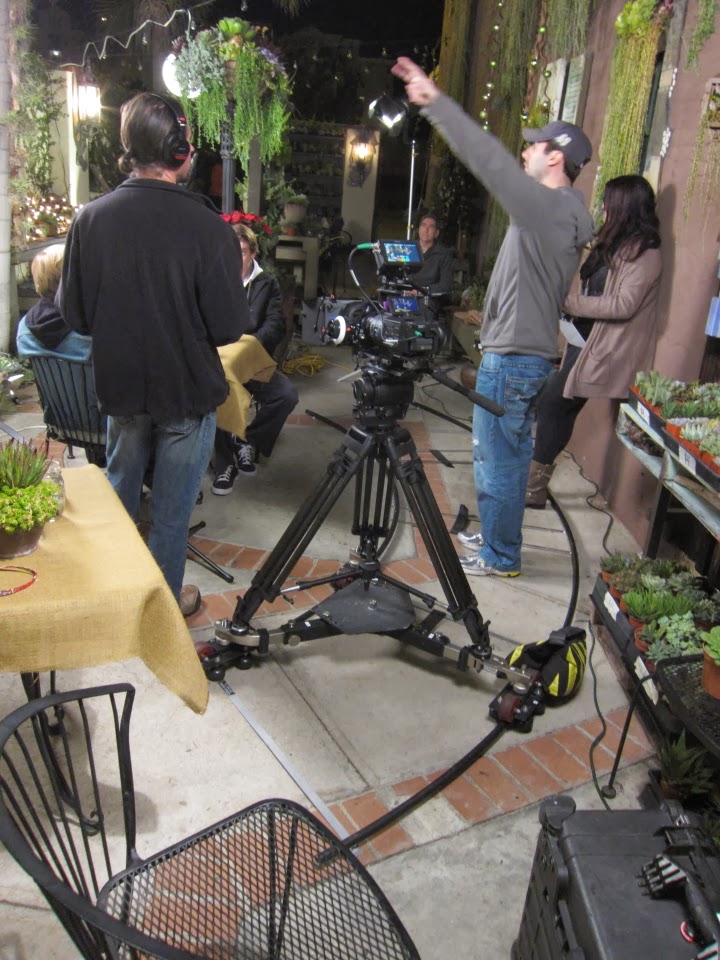
Here are a couple behind the scenes production pictures from our film showing both the straight and curved track in action with the Sony FS-700 and Atomos Samurai Blade. Note that sandbags are a necessary accessory to keep the dolly from rolling away on a slope, like at our location. Also note that the dolly itself takes up three feet of track, so to move three feet you'll need two joined pieces of track.

If you have any questions about using or assembling the dolly call Marc, Michael, or Dominique at the shop. Michael gave me the two minute tour and that was about all I needed to use the dolly. As far as travel goes, in general the kit should fit in the trunk of an average sized car. Dollies are great at getting those wonderful cinematic traveling shots, so I recommend trying them at least once.
Wow! it's a beautiful creation, that making of portable dolly. It is helpful for all, everyone can keep it with them self at each time. As keeping it with themselves,can use any where as they had any problem.
ReplyDeleteCar Dollies
This is a good designed dolly as I saw in the pictures and read this blog. It helpful to keeping with us. The size of the dolly well maintained and easy to use. It could be set in sort place also.
ReplyDeleteWorkshop Equipment